Now that we have a Custom Adapter, what we can do now is to get a reference
to the GridView on our main layout. We can then attach the adapater to the GridVIew.
As usual, we can use findViewById to get the GridView.
With your MainActivity.java file open, put this line in your onCreate
method, just below the one that gets the headings array:
GridView grid = (GridView) findViewById( R.id.petsGrid
);
ALT + ENTER on any red text to add the correct library. Or type import android.widget.GridView;
at the top of your code.
Now we can create an object from our CustomAdapter:
CustomAdapter myAdapter = new CustomAdapter( getApplicationContext(),
labels );
Remember, we set up our Custom Adapter to accept two parameters, a context
and a string array. In between the round brackets of CustomAdapter we have getApplicationContext
and labels.
We need to attach our adapter to the grid. So add this line:
grid.setAdapter( myAdapter );
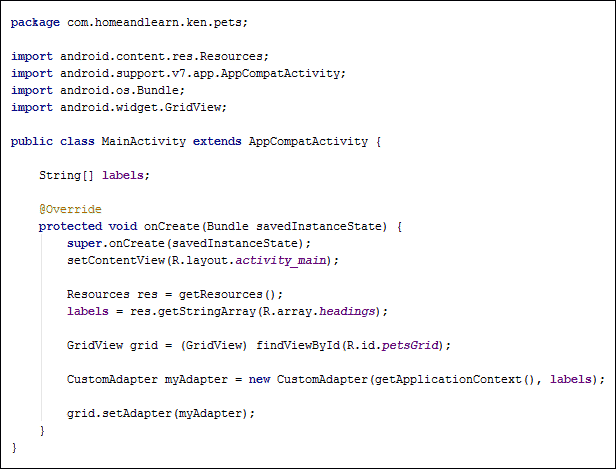
Your MainActivity.java code should look like this in earlier versions
of Android Studio:
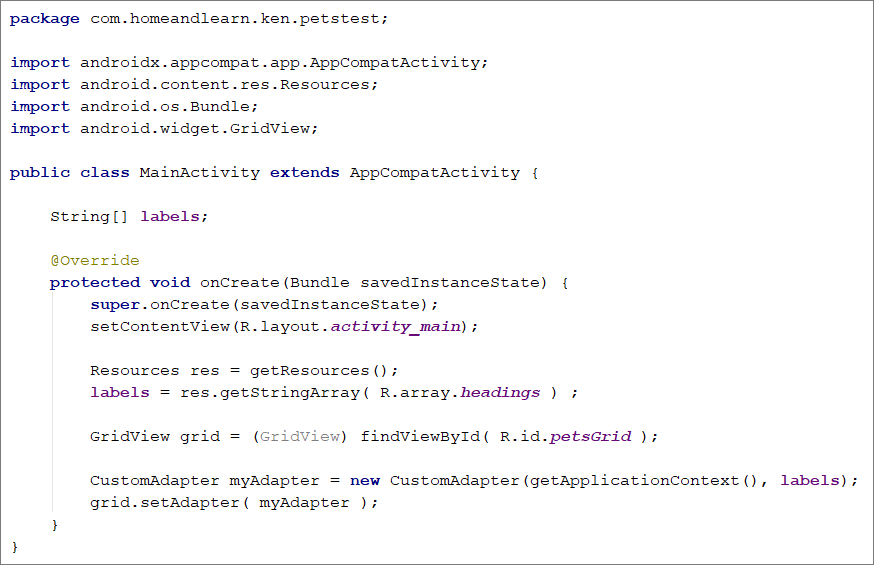
And this in later versions:
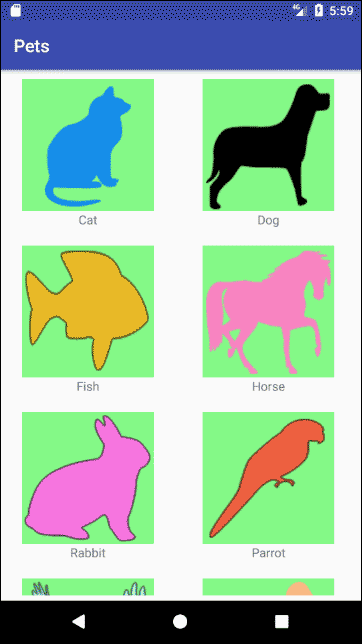
You can give it a try, now. Run your app and you should see this (if
you can’t see your headings, read below):
Now rotate your device to put it into landscape mode. It will look like this:
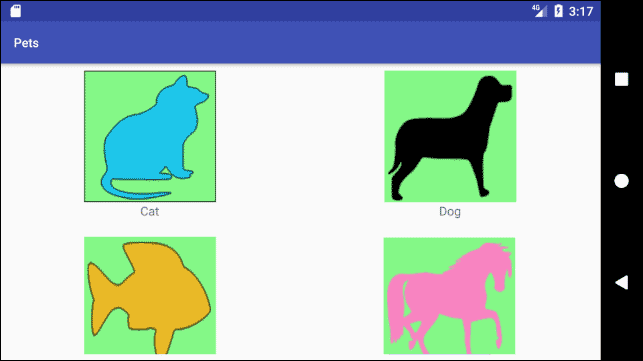
You should be able to scroll down and see the rest of the grid items. But notice
that there are only two columns. We’d like to have four columns in landscape
view. What we can do here is to create a new layout for landscape view. We did
this in a previous section, so you should be used to it.
No Text Headings?
If you run your app on real device and can’t see any text headings, go back
to your grid_items.xml file. In the Component Tree, click on your petHeading
TextView to select it. In the properties area on the right, locate the textColor
property:
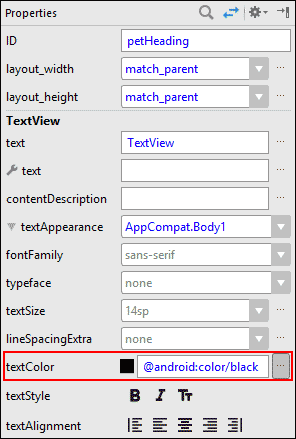
Click the button on the right for Pick a Resource. In the Color section on
the left of the dialogue box that appears, select a colour. We’ve went with
color/black.
You can also set the textAppearance property. Click the dropdown list to set
a text appearance. We selected AppCompat.Body1.
Run your app again, and you should see the headings now.
What we’ll do next is to design a layout for landscape mode. This will have
four columns for the grid of items, instead of the two in portrait mode. We’ll
do that in the next lesson below.
< Custom Adapter|
Landscape Layout >
Kaynak : https://www.homeandlearn.co.uk/android/grid_view_set_adapter.html ‘sitesinden alıntı
