Android devices come in lots of different screen sizes and screen densities.
You can design different layouts for your app, depending on the device. First,
let’s design one layout for when the screen is in portrait mode and another
for when it’s in landscape mode.
Suppose you had an app for great bridges of the world. One of your bridge pages
might look like this in portrait view:
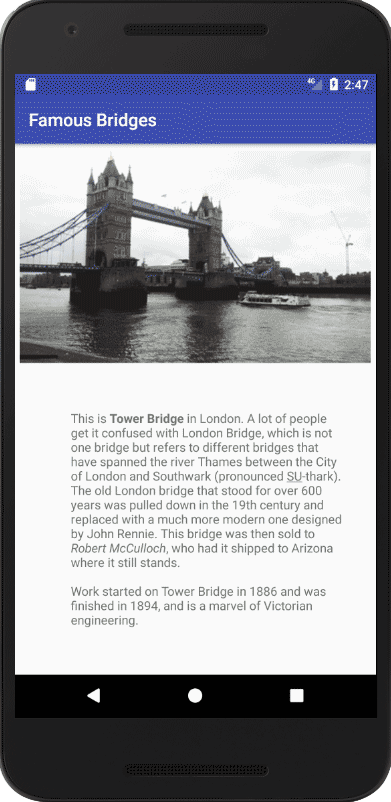
However, when the device is rotated, you may find that your page design looks
terrible in landscape view:
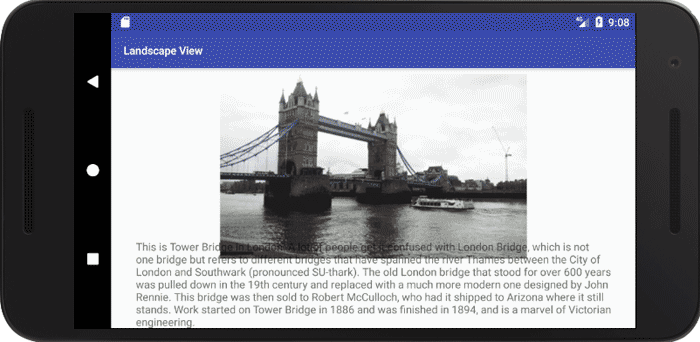
In this tutorial, you’ll learn how to create a different layout for landscape
view.
Create a new project for this. Give it the application name of Famous Bridges.
As usual, make sure you’re creating an Empty Activity. When the project loads,
copy and paste the following two images to your res > drawable folder:

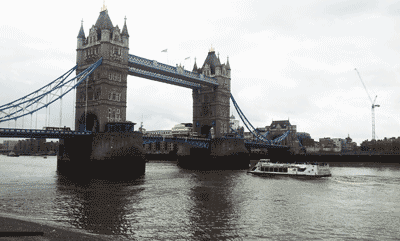
We’ll use the wide image for portrait view and the other one for landscape
view.
If you have a look at your Project Explorer, you’ll see there is a folder in
the res directory called layout.:
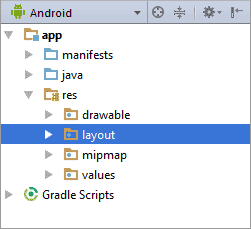
So far, you’ve been placing all your XML layouts in this folder. However, in
Android, you can create different folders to hold different-sized layouts. The
different folders you can create are these:
layout
layout-land
layout-large
large-layout-land
You then place XML layouts in these folders. (Large is for big screens.) Let’s
see how it works.
To create a landscape folder, right click on the layout folder. From the menus
that appear, select New > Layout resource file. You’ll then see the
following dialogue box:
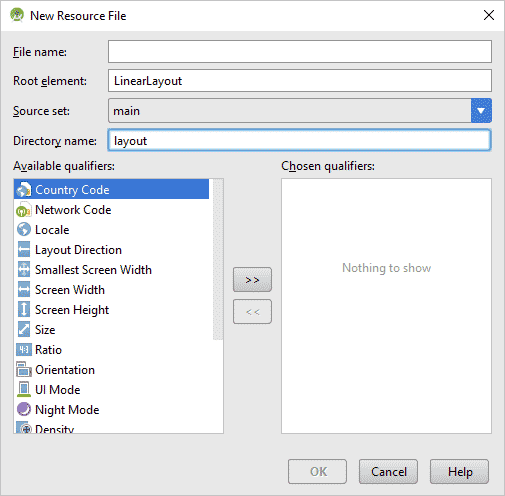
In the Directory name box, type layout-land. In the File name box at
the top, type activity_main. Your dialogue box will then look like this:
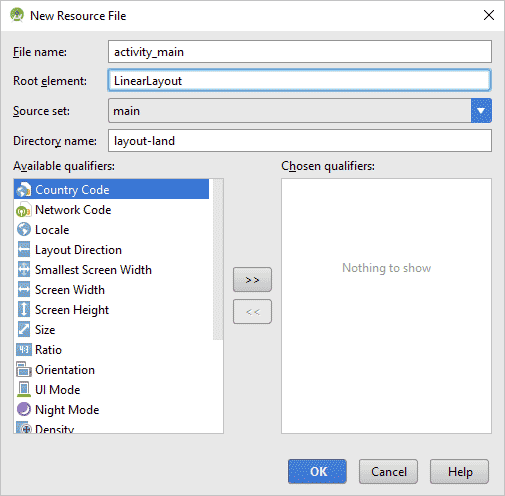
Before clicking OK, notice that the Root element says LinearLayout.
We don’t want this kind of layout, but you’ll see a quick way to change it later.
When you click OK, your Project Explorer will look like this:
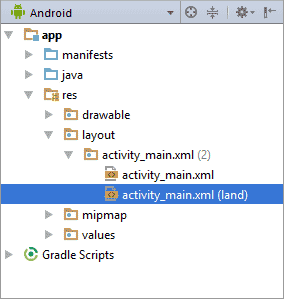
So we have two files called activity_main. And that’s the key to different
layouts – each alternate layout needs to have the same file name. The default
is portrait. If you need a landscape layout, you create an XML file with the
same name as the portrait one, and place it in a folder called layout-land.
If you need a layout for big screen then you would create a third activity_main
XML file and place it in a folder called layout-large, or layout-large-land.
But where is the layout-land folder? At the top of the Project Explorer window,
click on the blue area to see a dropdown list:
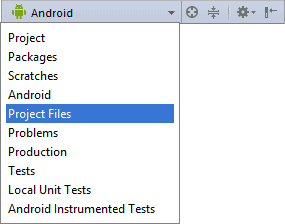
Select Project Files from the list (or Project). Your Explorer
will then turn into this:
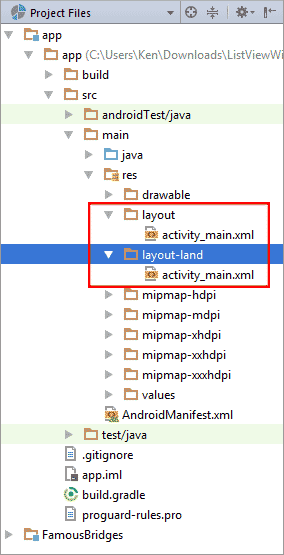
The Project Files view shows your all the files and folders more clearly, with
our new layout-land folder and our second activity_main XML file.
You can switch back to Android view, if you like. But if you prefer the Project
Files view, keep it on that.
Notice in the main code area, at the top, you have two activity_main XML tabs
open:

The portrait one is layoutactivity_main; the landscape one is landactivity_main.
When your app runs, though, this line is executed from MainActivity.java:
setContentView(R.layout.activity_main);
Android is clever enough to see that you have a layout-land folder.
When the device is rotated, it will grab the activity_main XML file from
this folder rather than the one in the layout folder. You don’t have to write
a single line of code to display the landscape version!
The same is true if you had a second Activity. Suppose you create one called
GoldenGateBridge, and that the XML file associated with this class was called
bridge_golden_gate. The layout would be loaded with this line, in the onCreate
method of GoldenGateBridge:
setContentView(R.layout.bridge_golden_gate);
You would create a second XML file called bridge_golden_gate, and place it
in the layout-land folder. Your Explorer window would then look like this:
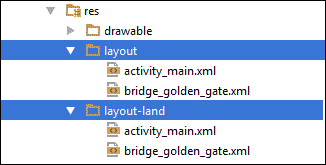
Android would then know to grab the correct file from the layout-land folder
when the device is rotated.
Let’s design the portrait layout, now. We’ll do that in the next lesson below.
< Gradients|
Designing the Portrait Layout >
Back to the Android Contents Page
