In this section, we’ll show how to add menus to your forms. You’ll add File,
Edit, and View menus, with items on each menu, and even sub menus. Here’s what
you will create:

So start a new project by clicking File > New Project from the menu
at the top of Visual C#. Create a new Windows Application project. Call
it anything you like. When your new form appears, you can add a menu bar quite
easily.
Have a look at the Toolbox on the left of Visual C#. As well as the Common
Control tools, there is a section for Menus and Toolbars. Click the plus
symbol next to this to see the following:

The one you want is MenuStrip, which is highlighted in the image above.
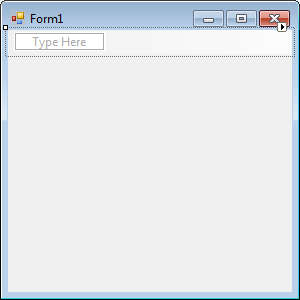
Double click MenuStrip and you’ll see a menu bar appear at the top of your form:

But notice what has appeared at the bottom of your Visual C# window:

This is the MenuStrip object itself. The default Name for the MenuStrip is
menuStrip1. If your MenuStrip is not selected, you can click on this
icon at the bottom. When you do, you’ll see all the Properties for the MenuStrip
appear in the Properties Window on the right hand side of Visual C#.
Adding items to your menus is quite simple. Click inside of the area at the
top, where it says “Type Here”. Now type the word File.

Hit the Enter key on your keyboard and your menu will look like this:

What you have done is to create the main menu item. To add items to your File
menu, click inside of the second “Type Here” area pictured above.
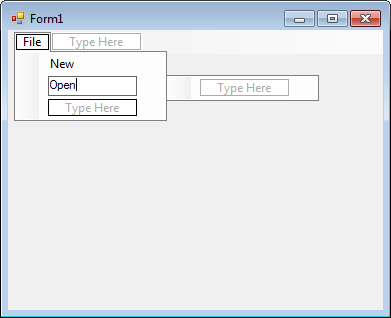
Now type the word New. Hit the Enter key on your keyboard to add the
menu item:

Click back on the word New after you have hit the enter key. This will select
just this menu item, and no other. Once you create a menu item it has its own
Properties that you can change. With the New item selected, have a look
at the Properties Window on the right hand side of Visual C#:

The Property we’re interested in is the Name. It’s a bit too long at
the moment. So change it to mnuNew, as in the image below:

If you scroll down, you’ll also see a Text property. It will say New,
at the moment. It says New because that’s what you typed in the menu bar when
you created this item. You could change this here, if you wanted to. But leave
the Text property on New.
Click back on your menu at the top of your form, and then into the “Type
here” area just below New. Type the word Open:

Hit the Enter key on your keyboard to create the Open menu item. Change its
Name property, just like you did for the New item. Change the name to
mnuOpen.
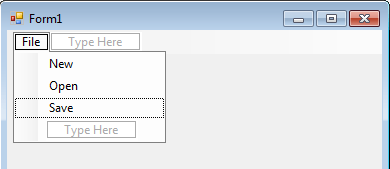
Create a Save menu item, underneath Open. Change its Name property to mnuSave.
Your File menu will then look like ours below:

We’ll now create just two more menu items, a dividing line, and a Quit item.
To create a dividing line, click inside of the “Type Here” area below
Save. Now type a hyphen (just to the right of the zero key on UK keyboard).
When you press the Enter key, C# will turn the hyphen into a dividing line.
It should look like this:

Add the Quit item below your dividing line. Change the Name property
to mnuQuit. Your File menu is now complete. To see what it looks like,
run your programme. You should have a blue toolbar running across the top with
a File menu. Click your File menu:

Of course, none of the menus work, because you haven’t written any code for
them yet. We’ll do that soon.
In the next part, you’ll learn how to add sub menus.
back to the c# net contents page
